

This is the 250 gallon tank and trailer I found to start the build with

Here I started marking out the doors

These were the hinges I designed to use on the smoker. Later these were cut off and gate hinges were welded in place.


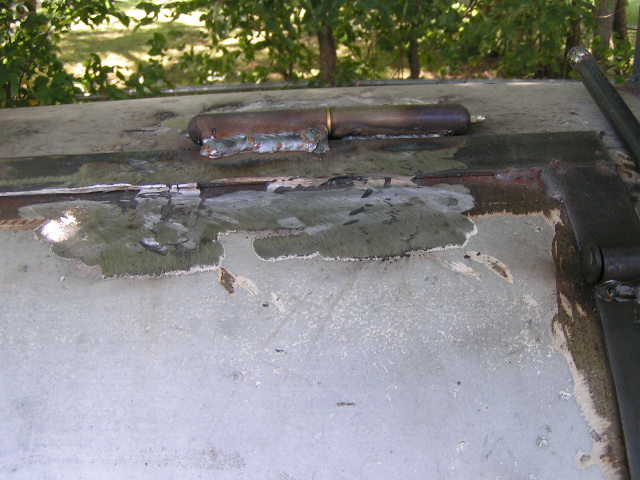
After the doors were cut and the hinges welded on it was time to take it outside and give it a good burning.


I put strap metal on the inside of the doors to give it a little better seal.

It was now time to bring the tank in and cut out the opening for the fire box.


This is the plate metal for the firebox. This is 3/8 inch thick steel and the box will be 30x30x24.


This is more metal supplies for the trailer and cooking grates.

Here is the firebox with the tank sitting on it.


This is the firebox door handle

This is the intake for the firebox. The slide will block off the air going into the firebox and this is what regulates the temperature in the smoker.

This is the intake almost closed.
Here are the other set of hinges. These work a lot better.


Now its time to start working on the inside of the tank.

I layed out the center angle iron and marked the side wall so the plate steel would be angled down towards the center.

The plates were welded in. You can see here that the opening at the end of the tank will allow the smoke from the firebox to travel under this steel plate. The smoke goes to the other end of the tank where it comes up and back across the cooking chamber and then, when the exhaust is cut out, the smoke will go up and out the exhaust pipe.

.JPG)
Here is a picture of the opening the smoke uses to come up into the cooking chamber.


Here the exhaust pipe has been added to the tank

Now its time for the trailer to get some attention.


The trailer was pretty much cut apart and remade to fit the tank.


After the parts were removed this is what was left.


Here is what the floor of the trailer looks like after the rebuild and before the tongue is installed.


It was then time to put the tank on the trailer.

Outside and getting ready for the first firebox fire.

success, the flow of the smoke starts coming out of exhaust

That is what we were looking for, smoke.


Fenders on and back home. The open space on the right side of the trailer is where I plan to put a tool box.

Back from the sandblasting and paint shop.


Tool box installed


Now I need to build a shelf along the front below the doors. Get a new set of tires and wheels and its about done.

Grate in the firebox.

New tires and wheels and the shelf installed


I added a Weber grill which can be adjusted in three positions for easy cooking

The grill can also be stowed in the rear of the trailer for towing purposes

Here the smoker is wide open

Finished and ready for action.